Showing posts with label little boy. Show all posts

Monday, December 2, 2013

My Puff Quilt Tutorial


<a href="http://www.bloglovin.com/blog/11371563/?claim=ft84bynksbp">Follow my blog with Bloglovin</a>


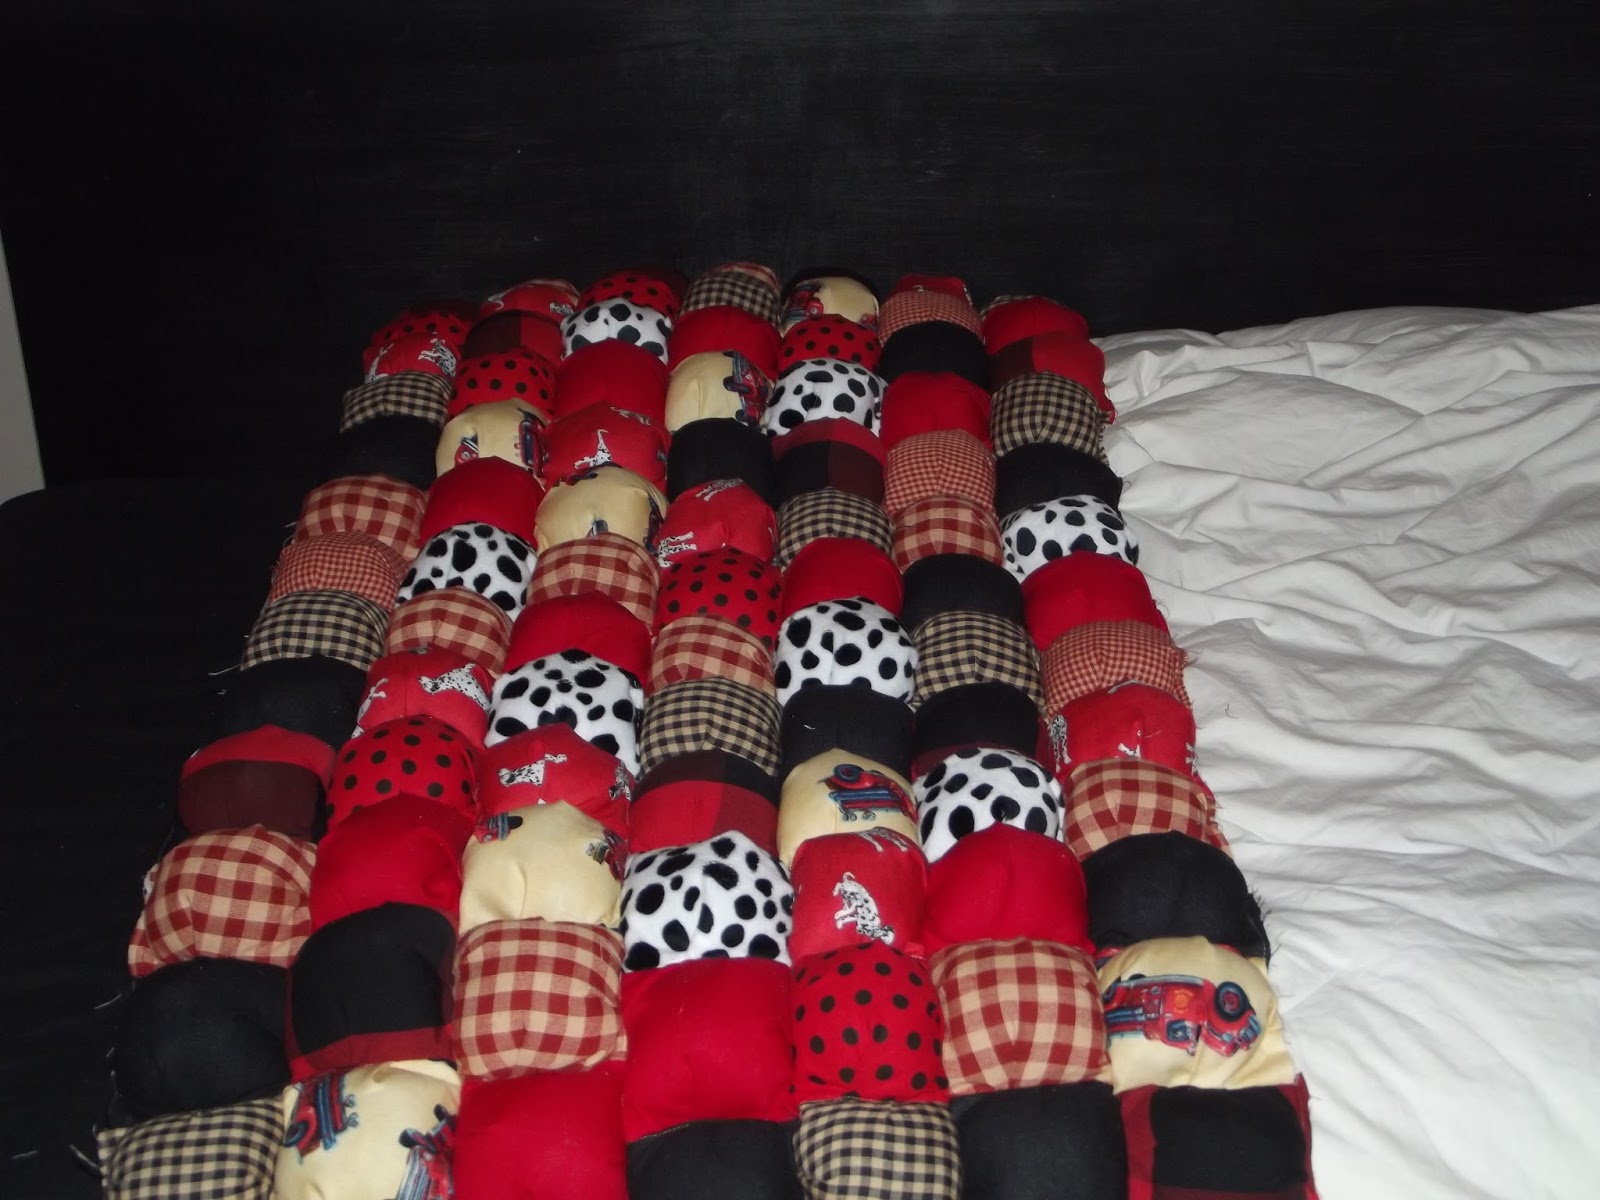
Hello there!! So, a couple of weeks ago I posted a picture of the puff quilt that I finally completed for my almost five year old's firetruck and dalmatian bedroom on google. I actually had a few people comment that they would like a pattern for the quilt. I, however, do not have a pattern to share because I just kind of made this up as I went along. So, with that said, I thought that I would do yet another first and try a tutorial for how I made it. And, since I had some left over pillows and a rocking chair that I have just refinished, I am going to show you how I made the quilt on a very small scale....I am going to make a cushion for the rocking chair. The quilt can be made as big or small as you care to make it. The original quilt was made for a super twin bed and frankly, I used a super twin sheet as my guide and as the backing for it.

First things first....I feel that it is only fair that I put in a couple of disclaimers before I get started....
1. This is my first tutorial on my very new blog....so, please feel free to comment away and point me in the right direction!!
2. I have two small children, two dogs, a husband and a full time job....basically, my life is sometimes like watching the Three Stooges.....it took me a long time to get this quilt complete....longer than it really should have because of all the interruptions.....however, if I were to take all of the pockets of time that I dedicated to it, it probably really took me two weeks working full time....so, about 80 hours....which is a lot, and, there are probably easier and other ways of doing this, but, this is what worked for me and seemed easiest at the time.


OK...with that said, lets get started!!

I had nine total fabrics that I worked into the design of my puff quilt. I only bought one yard of the designer fabrics and two yards of the more inexpensive fabrics. I started out by cutting the fabrics into five inch squares. I also bought muslin for the backs of the pillows since I realized after doing a couple that the backside wouldn't be seen and the muslin was so inexpensive. The muslin was cut into four inch squares. I now know that if I had used a rotary cutter, this would have been a much easier task, however, being the novice that I am....I cut each and every square, row by row.....could have probably saved some time there.....(told you that I am learning!! :)
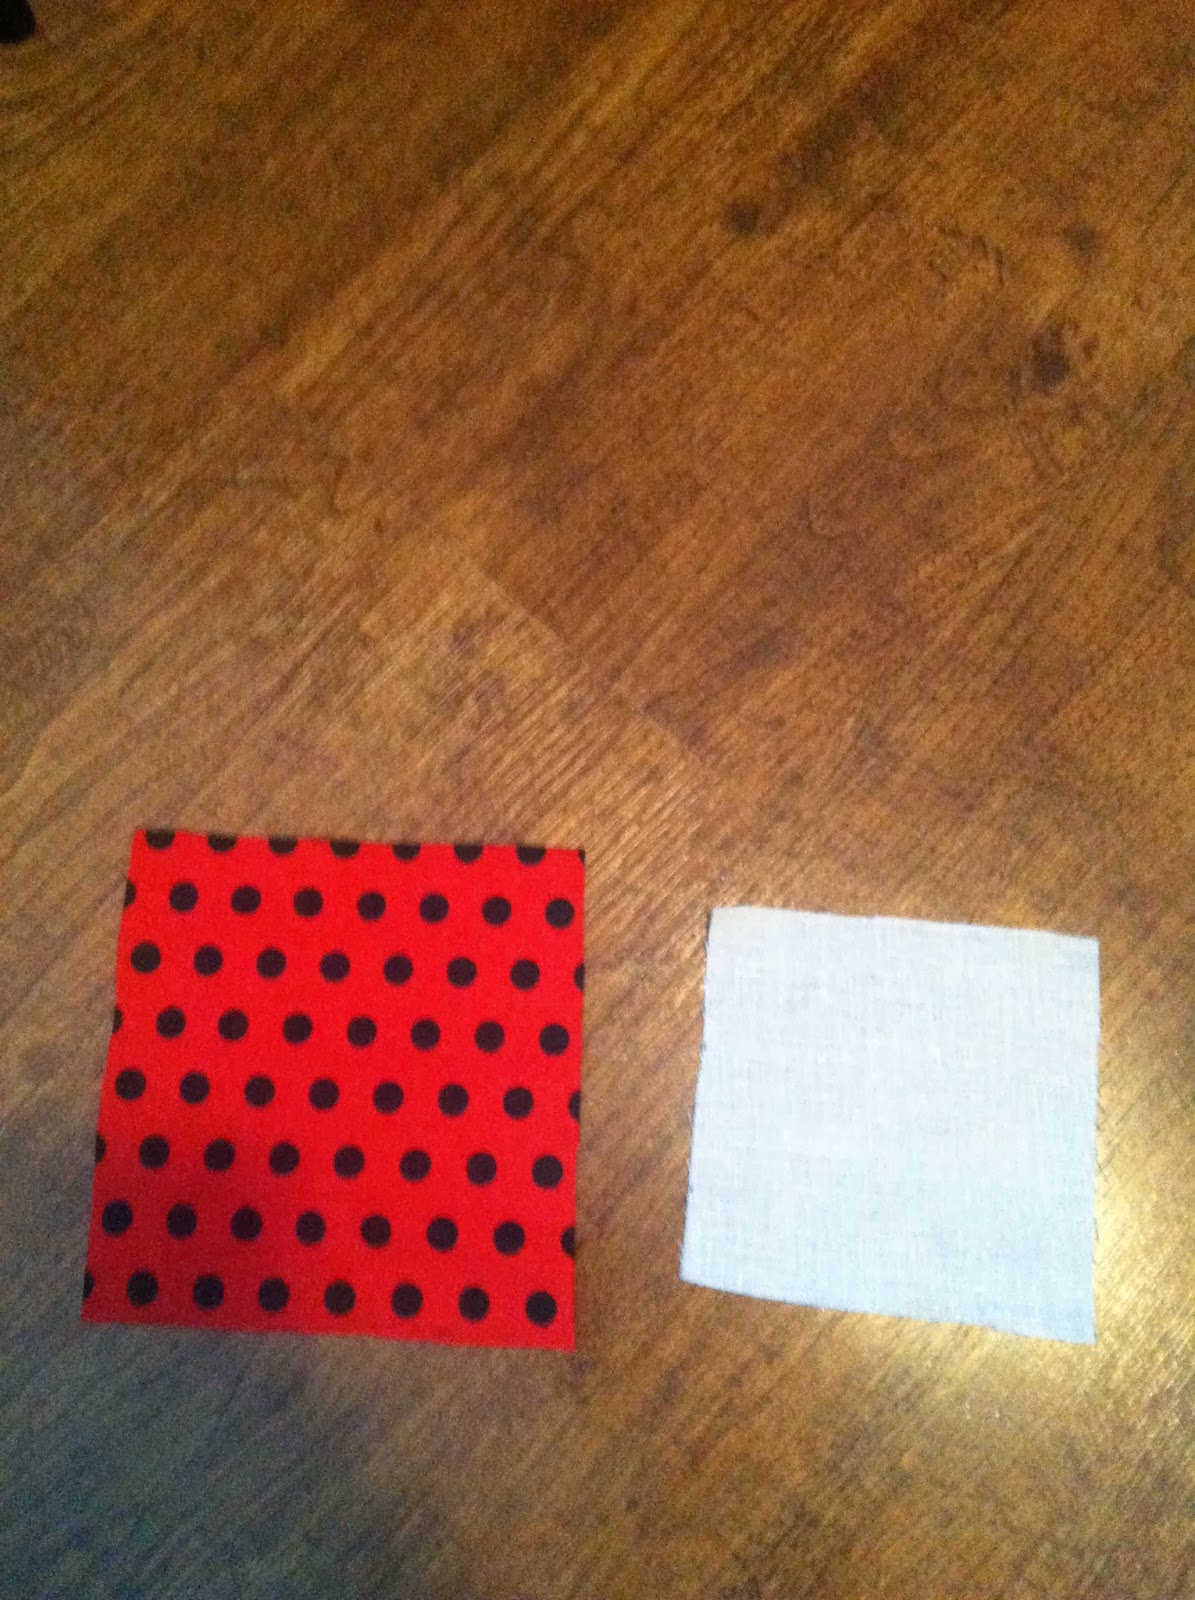
Here is the front and back of the pillow.


 After I had all of my pieces cut, I pinned the corners of the fabric and the muslin together and then made pleats (just folded over the excess) in the middle on three sides, leaving the last side open.


I then sewed the three sides together and stuffed the pillow with fluff. I used a lot of fluff....I want to say that I went through five bags of it....but, joannfabric.com always has coupons for when it wasn't already on sale....needless to say, I used a lot of coupons....

Here is one of the many bags of "fluff"

After stuffing the pillow with the fluff, I sewed the final side together creating the final pleat and now you have one pillow....you only have to do this about 399 more times, depending on the size of your puff quilt!! 
Now, I have to admit that I am one who gets bored looking at the same fabric, so, I kind of bounced around and sewed about 35 pillows of each fabric, separated them into boxes and then started putting them together. I would go back to making pillows when I started to run low, but, I just got bored making them which inevitably deterred me from my project....do it however it works for you.....

So, lets put these pillows together. Since they are all the same size, they line up quite easily. And, I did just that. I layed my pillows on the floor, made sure that I liked how the different fabrics lined up, made sure that there weren't two of the same fabrics touching each other or at least not directly in the same line and pinned them together. For the big quilt, my rows ended up being 15 pillows wide. For this cushion, it is only 6.


Here is the leftover pillows that I didn't use for the quilt....hence, the cushion :) But, yes, I had nine diaper boxes filled with little pillows at one point.

Now, that you have it pinned your first row together, go ahead and sew the individual puffs together one at a time so that you have created a row. 
Once I had completed one row, again, I would lay it on the floor and line up my next row, pin the pillows together and then sew them together.
When you have several rows sewn, you can start putting them together. With right sides together just match the centers and corners of each row and pin and sew.
The quilt did get very heavy after I had about ten rows sewn together. I learned quickly that it was easier to sew four or five rows together first, then attach it to the bigger piece. I fought it at first, but, it was certainly easier to do it in sections than to fight the weight....

Ok....so, you have your rows all sewn together.....now what?? I wondered that, too....I spent some time with a nice woman at the fabric store who had been quilting for a long time. She told me that I could use a fabric adhesive to baste the batting on instead of hand basting.....that sold me on this stuff!! And, it works just fine. It does get a bit gummy on your hands, but, washes off easily.
I cut the batting (they actually make batting for quilts in bedding sizes--I didn't know that--and since my boys bed is a super twin, I bought the full size batting and cut it down) to size and sprayed one foot sections at a time smoothing the batting over the quilt and making sure there weren't any air pockets. I did have to hit the corners again before adding the back to the piece.
Remember that I am using left overs for the cushion...thats why the batting is in two pieces here.
 With the batting secure, I cut the sheet to fit the length and width of the quilt. For this cushion, I just used a left over square of red fabric for the back. I used cotton quilt binding to attach the front to the back. In the picture below, I am using the satin blanket binding. It is your choice as to how you finish your quilt. I have to be honest, I have never done finish work before, and if there is anything that I would redo on my quilt (or cushion, for that matter) is the finish....I need a class as to how to make this a bit more professional looking. And, in my spare time (yeah, right!!) I will probably in all honesty redo the finish work on both of my pieces.


I certainly hope that you found this helpful. Like I said at the beginning, this is my first time doing a puff quilt (or any quilt for that matter) as well as a new blog and a new tutorial....Please feel free to comment and point me in the right direction, critique, and ask questions....I really welcome and appreciate the feedback!! 

Thanks for stopping by!!

Saturday, October 19, 2013

The Challenge....

It dawned on me as I was creating and dreaming about the design of my four year olds' bedroom that I could not possibly be the only mom out there that hated the 'bed in a bag' selection offered by the typical retail stores. And, on Labor Day weekend, while my kids were at the cottage with their grandparents and my husband and I were working all weekend - hence, the reason the kids were at the cottage- we decided it was the opportune time to get Gabriel's furniture painted. So, in our downtime from working our respective jobs, we had four pieces of furniture in the playroom in various stages of sanding, painting and antiquing. What a task!! I thought the assembly line type set up would be the easiest way of tackling the project....well, I was crazy!! It was a lot of work with very little time to get it finished before the four year came back after the long weekend. And, with work everyday, we found ourselves neck deep in sanding and painting at very strange hours of the night that weekend....our motto all weekend long was, 'for the love of the child'....and that kept us going. To see his face when it was all complete was going to be priceless, right? He would finally have a 'cool' room to replace the room he lost to his baby brother.....
Somewhere along the process that weekend, I realized that it was a bit therapeutic to be crafting a room for a little boy that I love so much. This would be a really cool job....creating rooms for little ones....making really creative spaces to fit with the little personalities I am creating for.  But, how do you go from restaurant manager to childs room designer? At forty years old and with two small children, can you even make that transition? I am so at peace when utilizing my creative outlet.  I needed to find a way to transition from one job to the other without losing income and without sacrificing time spent with my kids.....

And, so, here comes the challenge....on a whim, I found a table that was slated for the landfill. I rescued this little table from its impending doom, brought it home with me and left it on my husbands work bench in our garage. On the back of an envelope I wrote the following:

The 52 week challenge:

I, Rachael, your wife, challenge you to recycle and rehab one piece of furniture a week for one year using as many different painting techniques as possible.  You can learn as you go and sell the pieces as they are completed, using the money to put towards the next furniture purchase. If its a mess, thats ok, its how you learn. Please remember to take before, after and during pictures. Here is $10 for materials. You have one week to complete this table!! Ready, Set, GO!!   Good Luck!

I taped $10 and the envelope to the front of the table and left it there for him to find the next morning. I have to admit, the idea of him finding this 'gift' from me made me nervous....was he going to be mad that I would just assume he would want to do these projects in his spare time? Would he be into it? Would he even 'get' it?


Well....the first table is complete. He 'got' it. He understands where I am going with this....thank God!! I think it looks pretty good. And, I feel that with his carpenter skills and great knowledge of wood, my design ideas and some hard work, we may be able to create some really great pieces and eventually some amazing spaces. Here it is:


Now, we just have to get it sold....thats my part of the equation.

This is a good start. In my haste to get started we forgot the before pictures....duh!! However, the next project is in the garage and is a bigger undertaking...so, hopefully in another week we will have before and after pictures of this piece.

I can't tell you how excited I am to begin something new, fresh and ofcourse with the love of the child in mind.....

Wednesday, September 18, 2013

The Big Boy Room


Do you find yourself smiling to yourself when you think of something your little one has said or done….just out of the blue, you start laughing because this tiny little human that you created has become his own funny little person….I do it all the time. And, most people are sick of hearing my “my kid is so funny” stories….but, he is. To me, he is the most precious thing ever. I actually have two boys, however, only the eldest is capable of saying things that make me laugh so far. Although, I have a feeling that the baby will have his very own distinct personality and will make me laugh in completely different ways, for he, too, is also his own tiny little person. I cant wait to watch him become his own person....
 I think back to when I was carrying Gabriel and how inexperienced I was in the whole being a mom thing. In my hormone-crazed mind, I actually convinced myself that if my baby (gender unknown at this point) didn’t come home to the most perfect nursery, he would think that I didn’t care….I do know now that this was a completely insane state of mind….but, at the time, you could not have convinced me otherwise. Trust me, my mom and my husband both tried!! And so my hunt for the perfect nursery began. I went to all of the traditional baby stores: Babies R Us, Target, etc….verdict: the bed-in-the-bag thing just wasn’t for me…..so, I moved on to boutiques….verdict: beautiful and very expensive things, yet, still not my style. I knew that I would know what I was looking for when I saw it, but, I kept NOT seeing it. Frustrated, I took my mom on a scavenger hunt throughout Charlotte pawing through every fabric store in Mecklenburg County. I thought for sure that I would find a gender-neutral fabric that would inspire the entire nursery. Nope. And so I searched and searched….and still I found not one thing that provided any inspiration for this perfect baby room. At eight and a half months pregnant, I settled. I found yellow fabric in various prints and I sewed my perfect baby room together in time for him to make his arrival....and the whole thing was soooo….. underwhelming. I actually kind of secretly hated it….although, I wasn't going to admit it because I HAD to have my perfect nursery that I had driven my family insane with just so that my baby knew that I loved him, right? 
Now, what I haven’t mentioned is that in the midst of my search, my husband and I had wandered into an antique store. And, in this antique store was a vintage fire truck. Inspiration—there it was, the inspiration I had been craving, but, I didn’t know if I was having a boy or girl.  I told my husband, while standing in this antique store that if I knew for sure that we were having a baby boy, this vintage fire truck was all the inspiration that I would need to create a little boys room. A few days later, we were in Hobby Lobby, and wouldn’t you know, they had an entire section dedicated to firemen, fire trucks, hoses, boots, etc….I was in love with this idea, but, once again, not knowing the gender, I settled on those ugly yellow fabrics. Yellow fabrics that made me cringe….but, only on the inside….I was still not admitting that it wasn’t perfect.
I coped with my “not so perfect” perfect nursery for the first few months after Gabriel was born pretty well, because, frankly, a baby doesn’t need a perfect nursery….doesn’t even go IN their nursery for about three months….and, neither did I!! What did I think I had that bassinet next to my bed for anyway??  Yep, I was a bit of a moron when it came to the whole ‘new baby’ thing. I think my mom will appreciate the fact that I am now finally admitting it!!
When Gabriel was three months old, my husband and I decided to move back to Ohio, where we still had our home that Craig had designed and built himself (hence why we didn’t sell it while we lived in North Carolina for two years). THIS was my ‘out’ of my perfect nursery. Shouldn’t we leave the curtains to sell the house? Of course, we should….perhaps we should just leave the nursery intact….its a selling feature, right? They call that staging….we should just leave it….and, we did. We left a lot of that nursery behind, and, so, after we settled back into Ohio, I started creating what I considered the truly perfect nursery. I chose firetrucks and dalmatians as the theme for his room….and, this I loved.
With the news that baby #2 was to make his appearance last December, we decided that it was time to move our four year old into a “big boy” room. This allowed us to reuse all of the furniture that was in the nursery for the baby (as it was intended)  and to move some of our extra furniture (accumulated because of our short stint in NC) into Gabriel’s new room. With the onset of Pinterest, I had accumulated hundreds of pins over the last couple of years that provided great ideas for his big boy room transformation. I would show my carpenter husband these "easy" DIY projects and I could just see his one eyebrow raise when he was looking at it. Yep, he thinks I’m crazy again. Crazy and pregnant….thats me. But, accommodating as ever, he took my ideas and was able to collaborate with me and frankly, our collaboration turned out so much better than the original idea. 
As of today, this room is a work in progress, but, I want to post some inspiration pictures, get some feedback on the furniture that has all been reused and reloved and some even recycled to see what you think of our little boys room....it was really a lot of work building, sanding, painting, sanding, painting and distressing all of these pieces and our motto throughout the process was: all for the love of the child.....

This has truly been a family affair!!

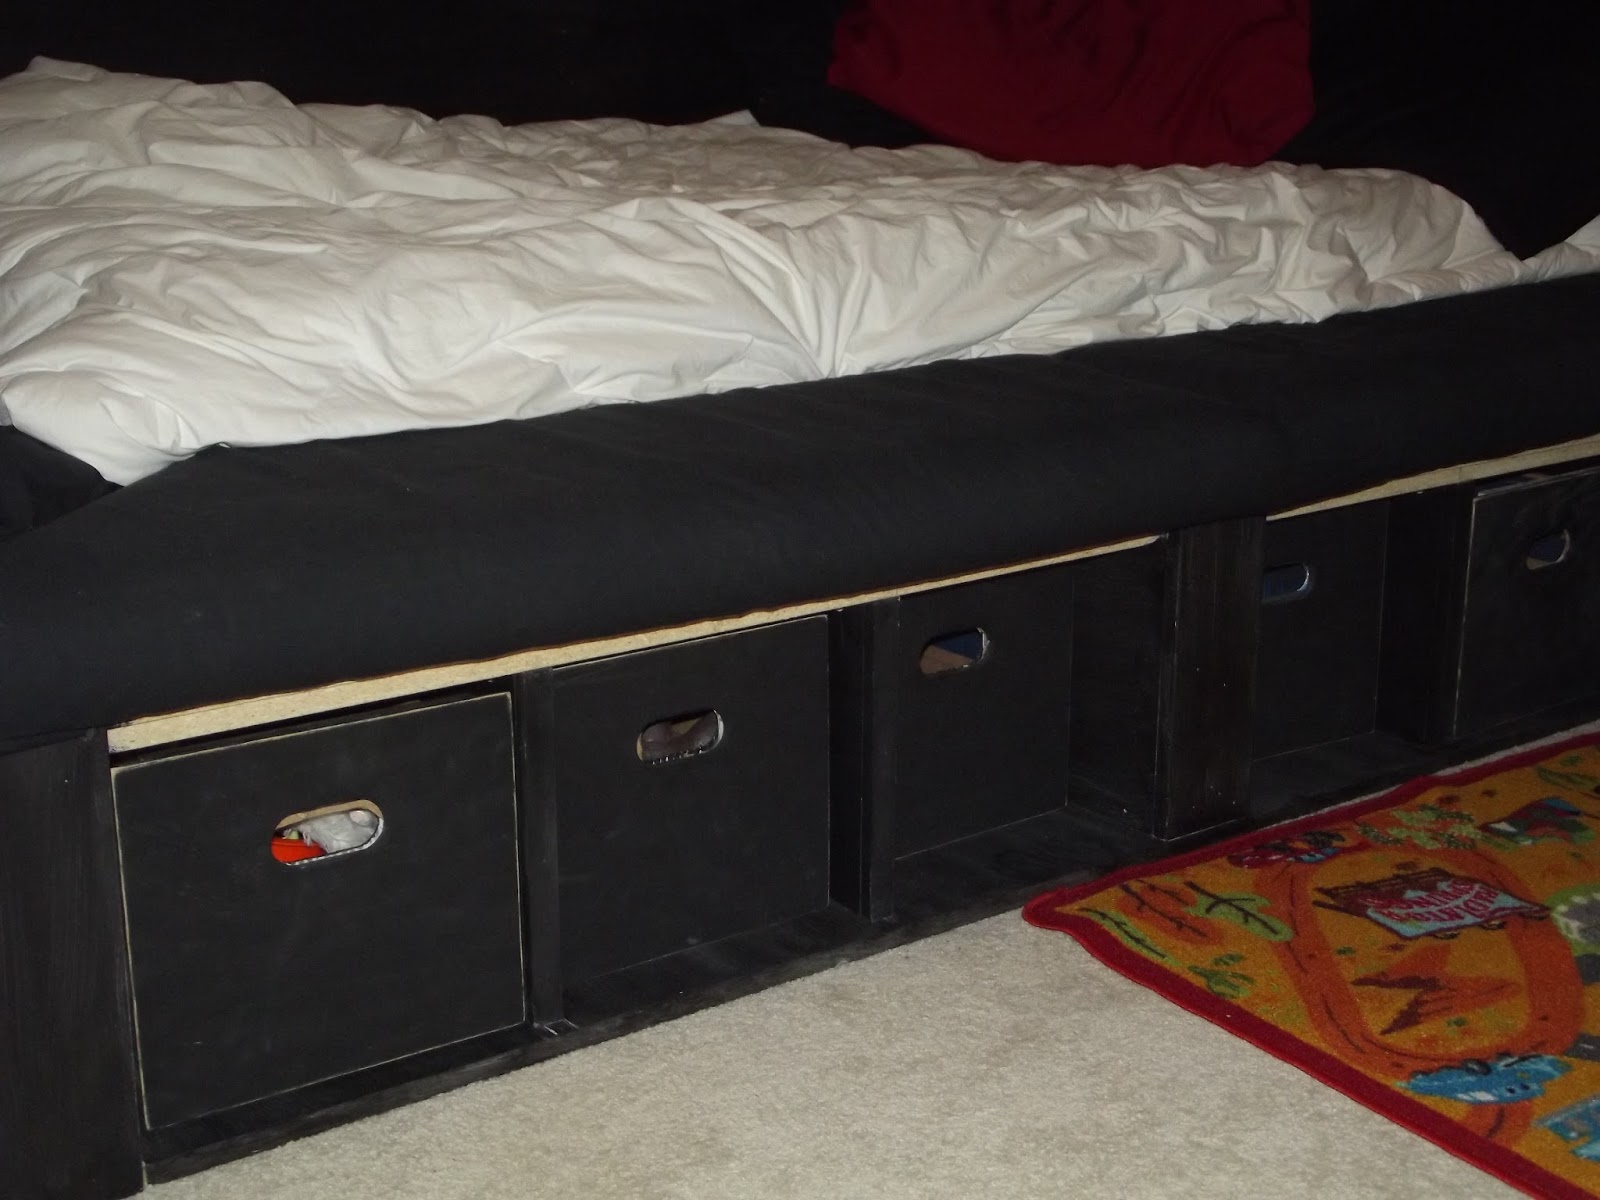
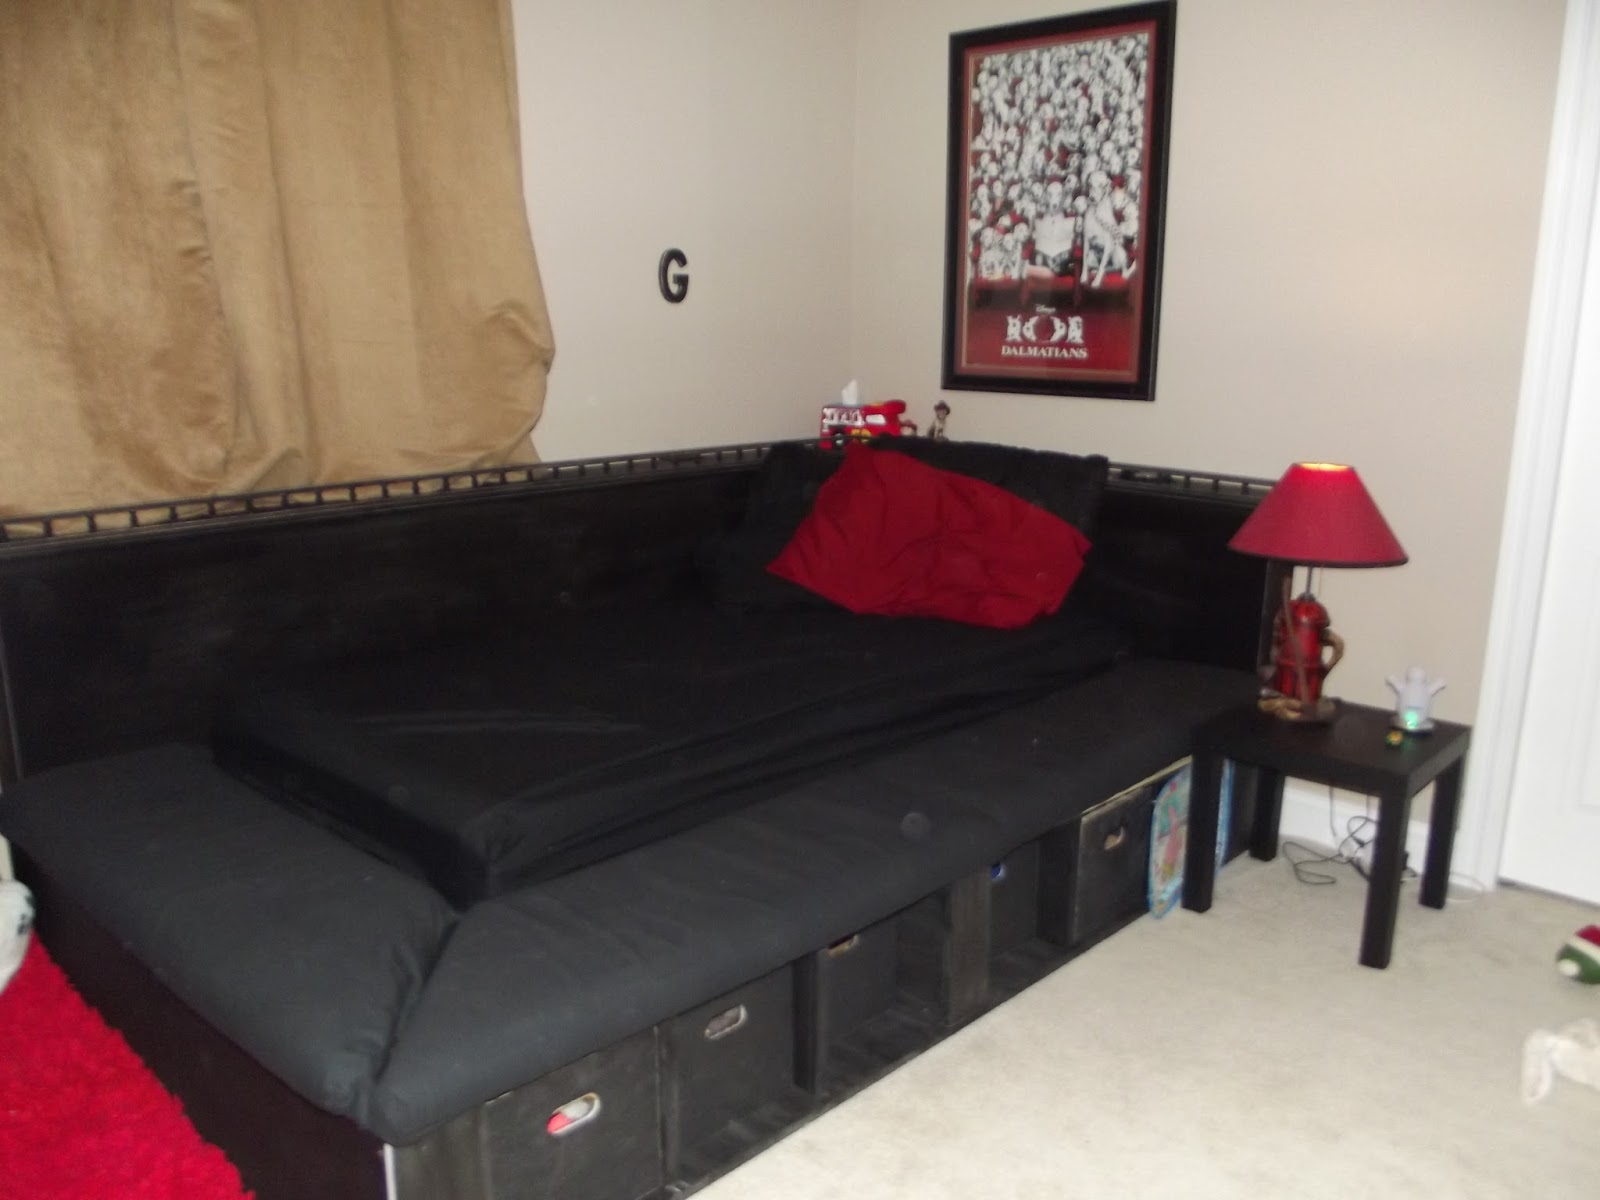
Building the bed. Craig and Gabriel are sanding it down and getting ready for paint. The original idea is posted below. My original thought was that this would be bookshelves turned on their sides in which we put baskets in the slots to store his toys. My husband, however, built (literally) on that idea and made the bed with slots underneath in order to store the toys.


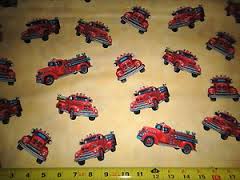
Fabric used in the quilt.

This bookshelf was something that we toyed with throwing away....many times....and then we painted it and it is the perfect place to store my boys' many books, gadgets, pictures and awards.....Love it!! I am so glad we saved this.

Here is a dresser that we got for free on freecycle.org. We were able to transform it from its original (not so great) condition into a very workable dresser.

And, of course, when I saw these drawer pulls, I had to have them.

Under the bed storage for toys, games, etc....

Because the bed covered the register that was on the floor, Craig was able to add duct work under the bed and reroute it so that the heat/air is still works like a charm....

Details...Details....Details

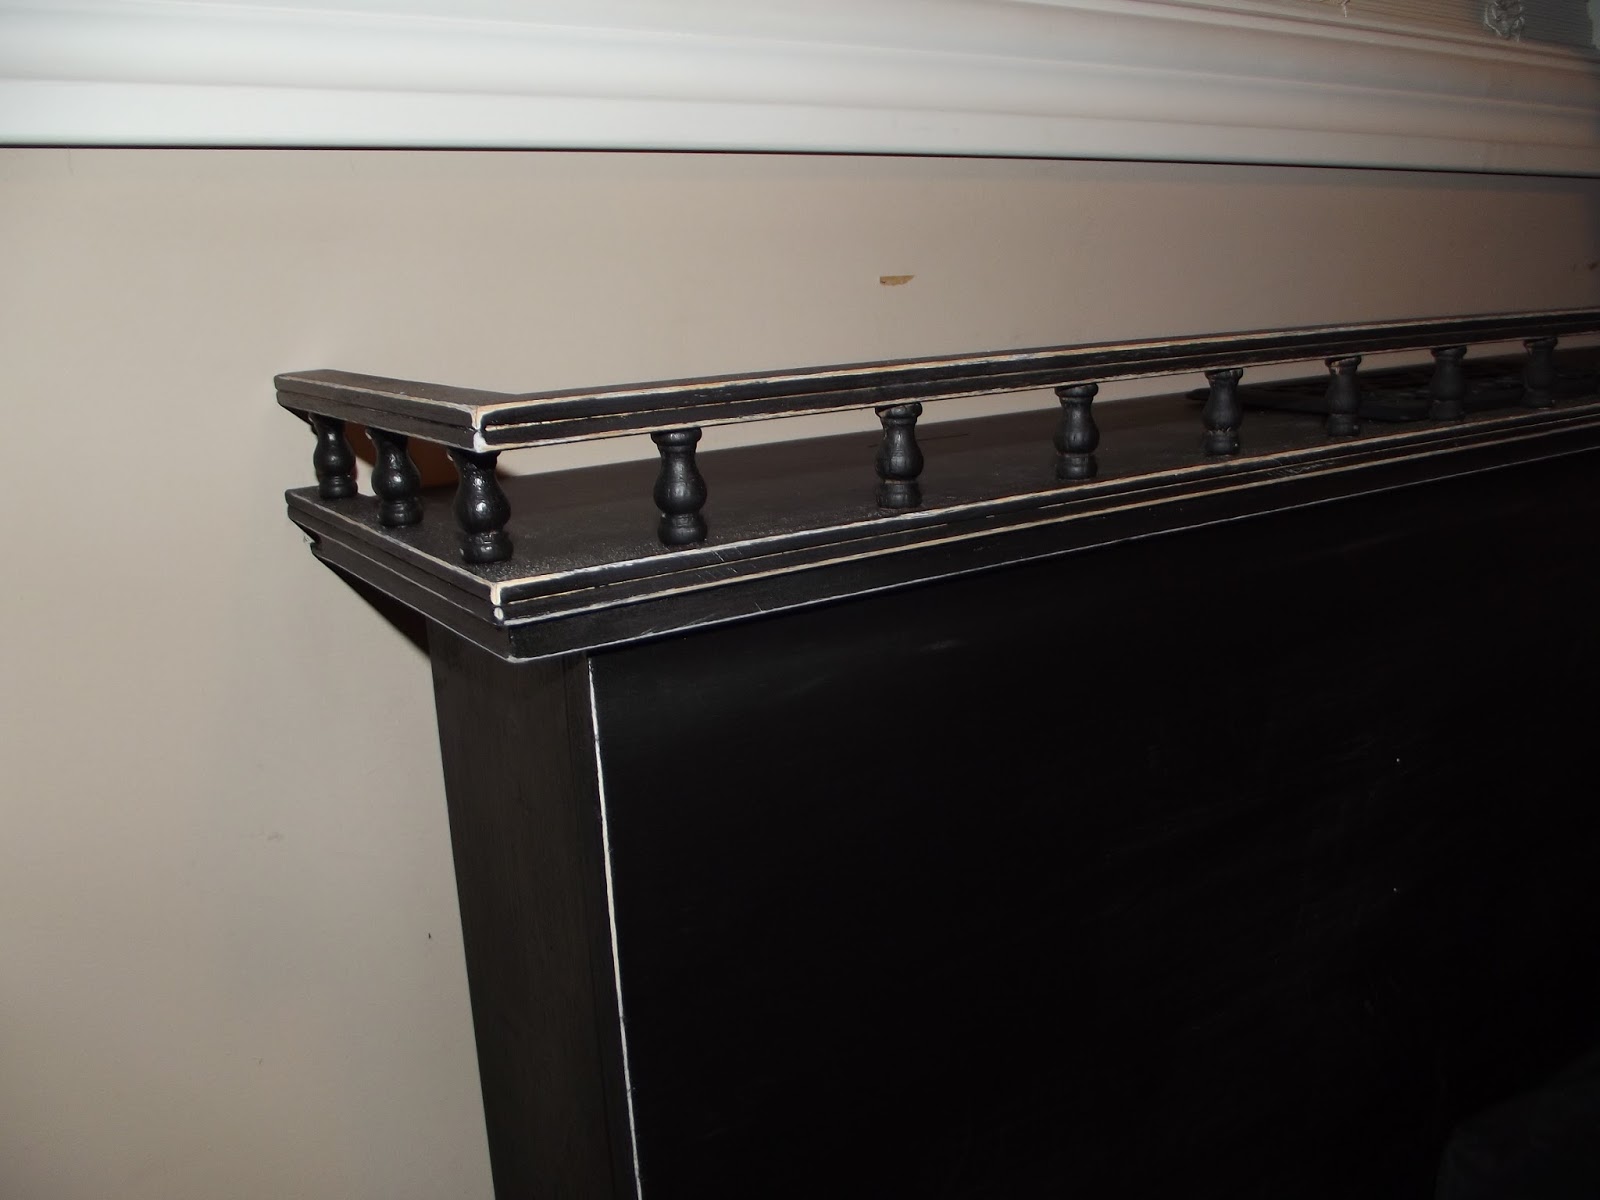
Almost complete....we still have three sections of fabric and padding to add to the headboard and some finishing paint and trim and this will be complete.

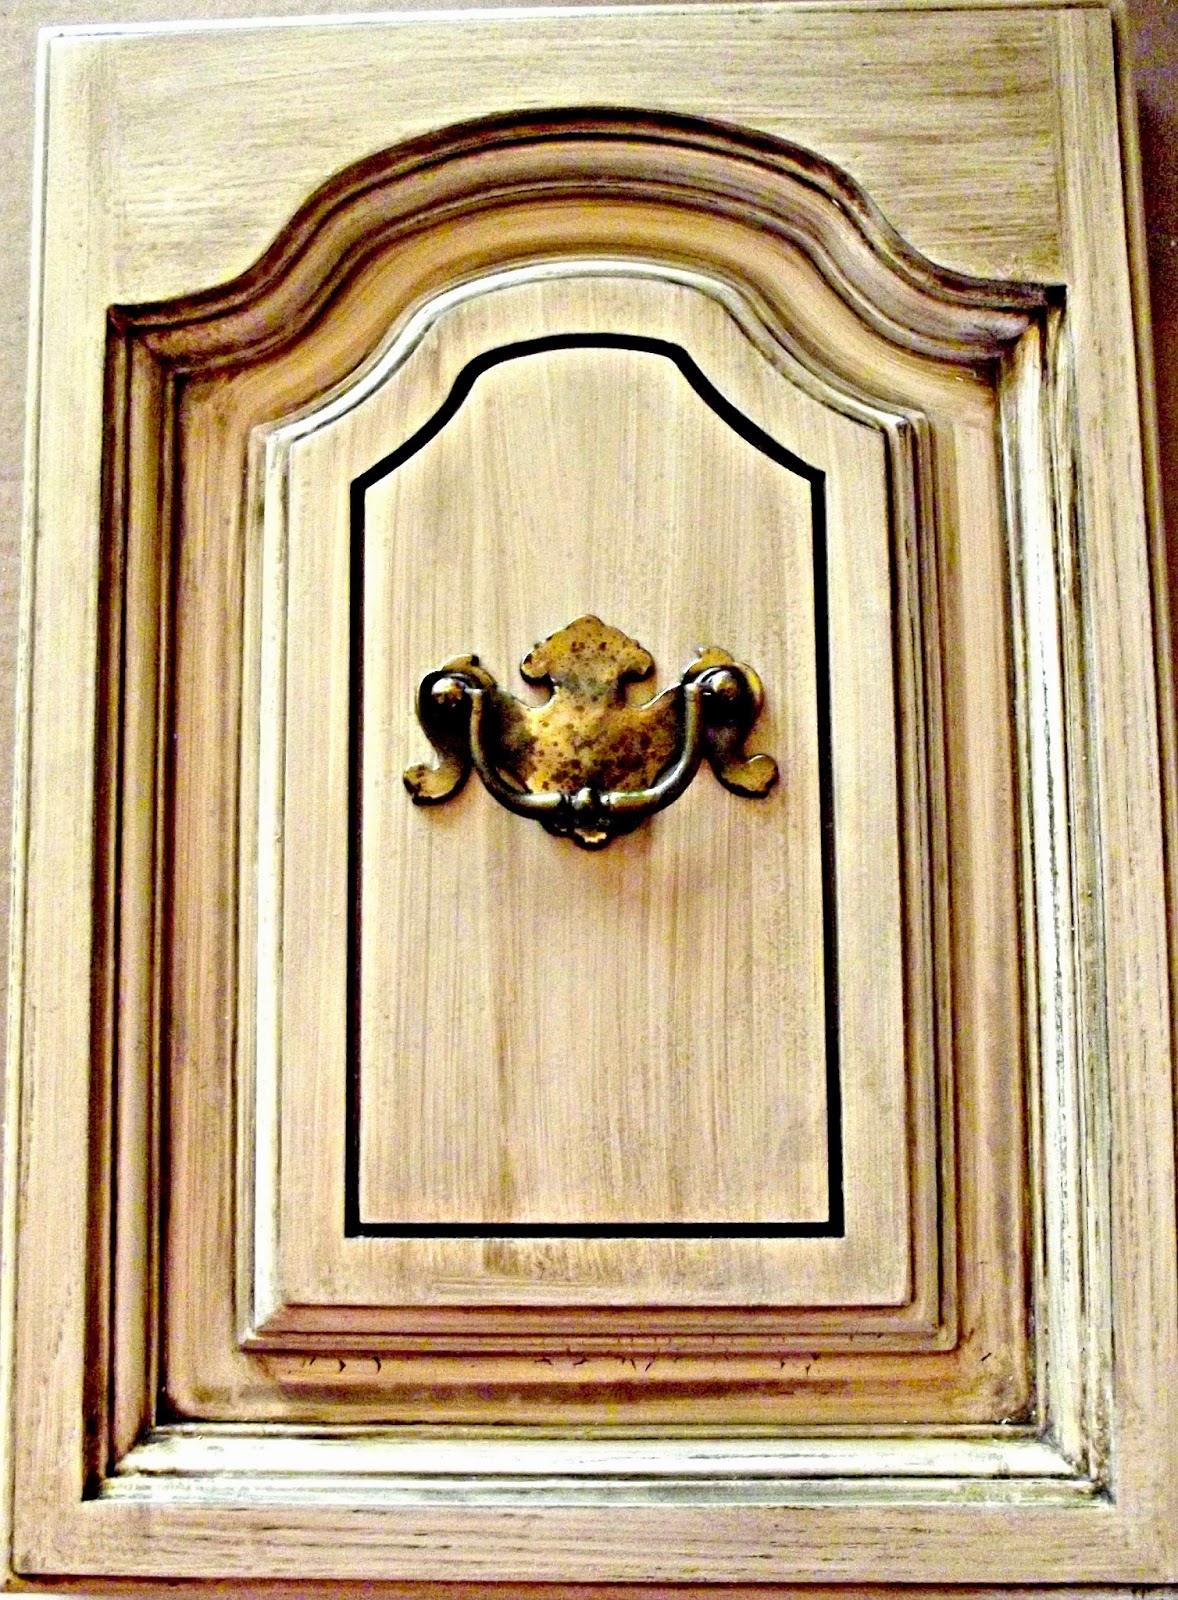
This armoire was also something that we had thought about getting rid of....so, glad we didn't. We sanded the original piece down, added a coat of primer, sanded again, painted two coats of black and antiqued the edges....and I am wowed that this is the same ugly piece we had in the family room.

My puff quilt....this is taking some time, but, it is on its way. I have about 25 more rows to go and then finishing the ends and adding the back....but, I am thrilled with how it is shaping up.....and, excited to get it finished because I think it will add so much to the final room.


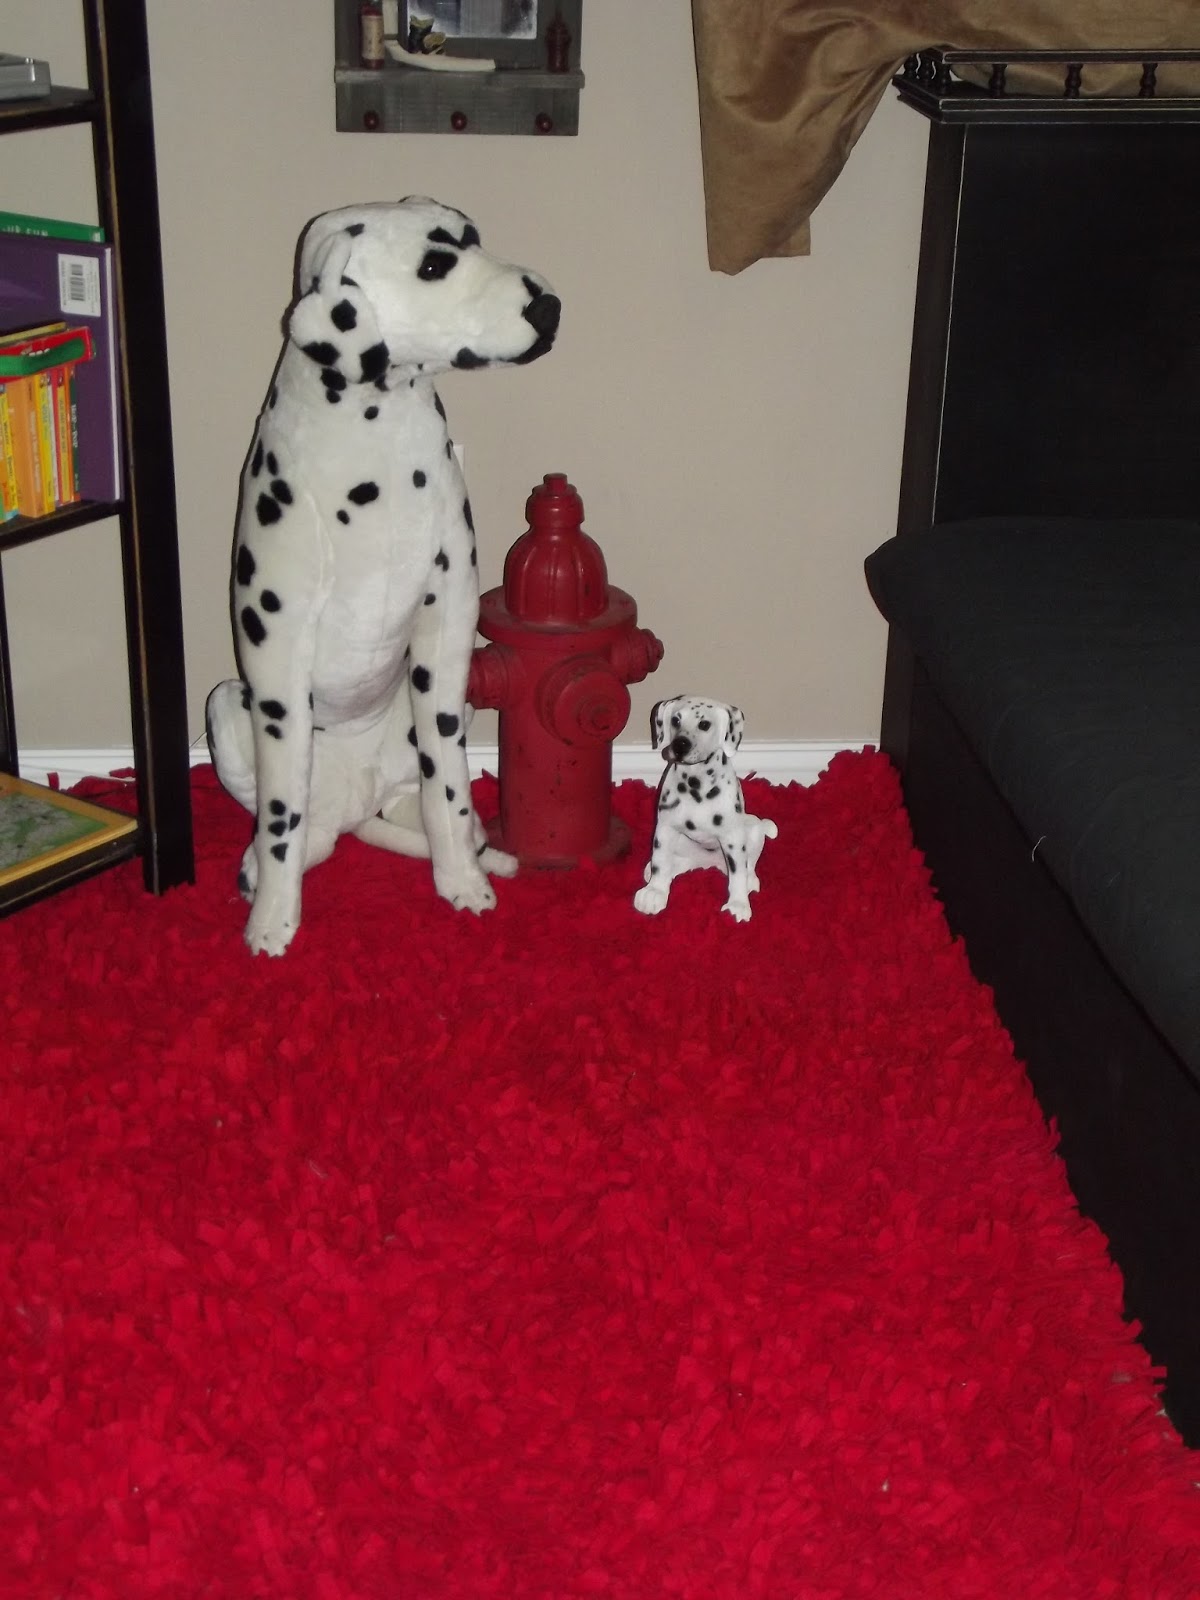
Here is the rag rug that I made....it is a 5x8 rug made by hand with fleece that I cut into strips and knotted....this took some time, but, I think it is so charming and the perfect place to curl up with a book or as my boy usually chooses, his headphones!!

Fabric Used in Quilt.

Fabric used in quilt.

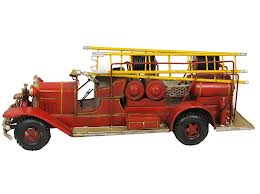
The piece that made me fall in love with my fire truck inspired bedroom!!

Hobby Lobby pieces that just add some character to the room.

My pinterest idea that I thought would work....my husband built the bed, but, used this as the reference.

Here it is....the fabric that made my heart soar when I found it. In the nursery, I used it as a duvet cover. However, in his big boy room, I will be using this as the curtains, the fabric that will be on the headboard and side of the bed and perhaps even around the edges of the quilt.

My Pinterest inspiration for the rag rug.

My Pinterest inspiration for the puff quilt.

Accessorize...