<a href="http://www.bloglovin.com/blog/11371563/?claim=ft84bynksbp">Follow my blog with Bloglovin</a>

Hello there!! So, a couple of weeks ago I posted a picture of the puff quilt that I finally completed for my almost five year old's firetruck and dalmatian bedroom on google. I actually had a few people comment that they would like a pattern for the quilt. I, however, do not have a pattern to share because I just kind of made this up as I went along. So, with that said, I thought that I would do yet another first and try a tutorial for how I made it. And, since I had some left over pillows and a rocking chair that I have just refinished, I am going to show you how I made the quilt on a very small scale....I am going to make a cushion for the rocking chair. The quilt can be made as big or small as you care to make it. The original quilt was made for a super twin bed and frankly, I used a super twin sheet as my guide and as the backing for it.
First things first....I feel that it is only fair that I put in a couple of disclaimers before I get started....
1. This is my first tutorial on my very new blog....so, please feel free to comment away and point me in the right direction!!
2. I have two small children, two dogs, a husband and a full time job....basically, my life is sometimes like watching the Three Stooges.....it took me a long time to get this quilt complete....longer than it really should have because of all the interruptions.....however, if I were to take all of the pockets of time that I dedicated to it, it probably really took me two weeks working full time....so, about 80 hours....which is a lot, and, there are probably easier and other ways of doing this, but, this is what worked for me and seemed easiest at the time.
OK...with that said, lets get started!!
I had nine total fabrics that I worked into the design of my puff quilt. I only bought one yard of the designer fabrics and two yards of the more inexpensive fabrics. I started out by cutting the fabrics into five inch squares. I also bought muslin for the backs of the pillows since I realized after doing a couple that the backside wouldn't be seen and the muslin was so inexpensive. The muslin was cut into four inch squares. I now know that if I had used a rotary cutter, this would have been a much easier task, however, being the novice that I am....I cut each and every square, row by row.....could have probably saved some time there.....(told you that I am learning!! :)
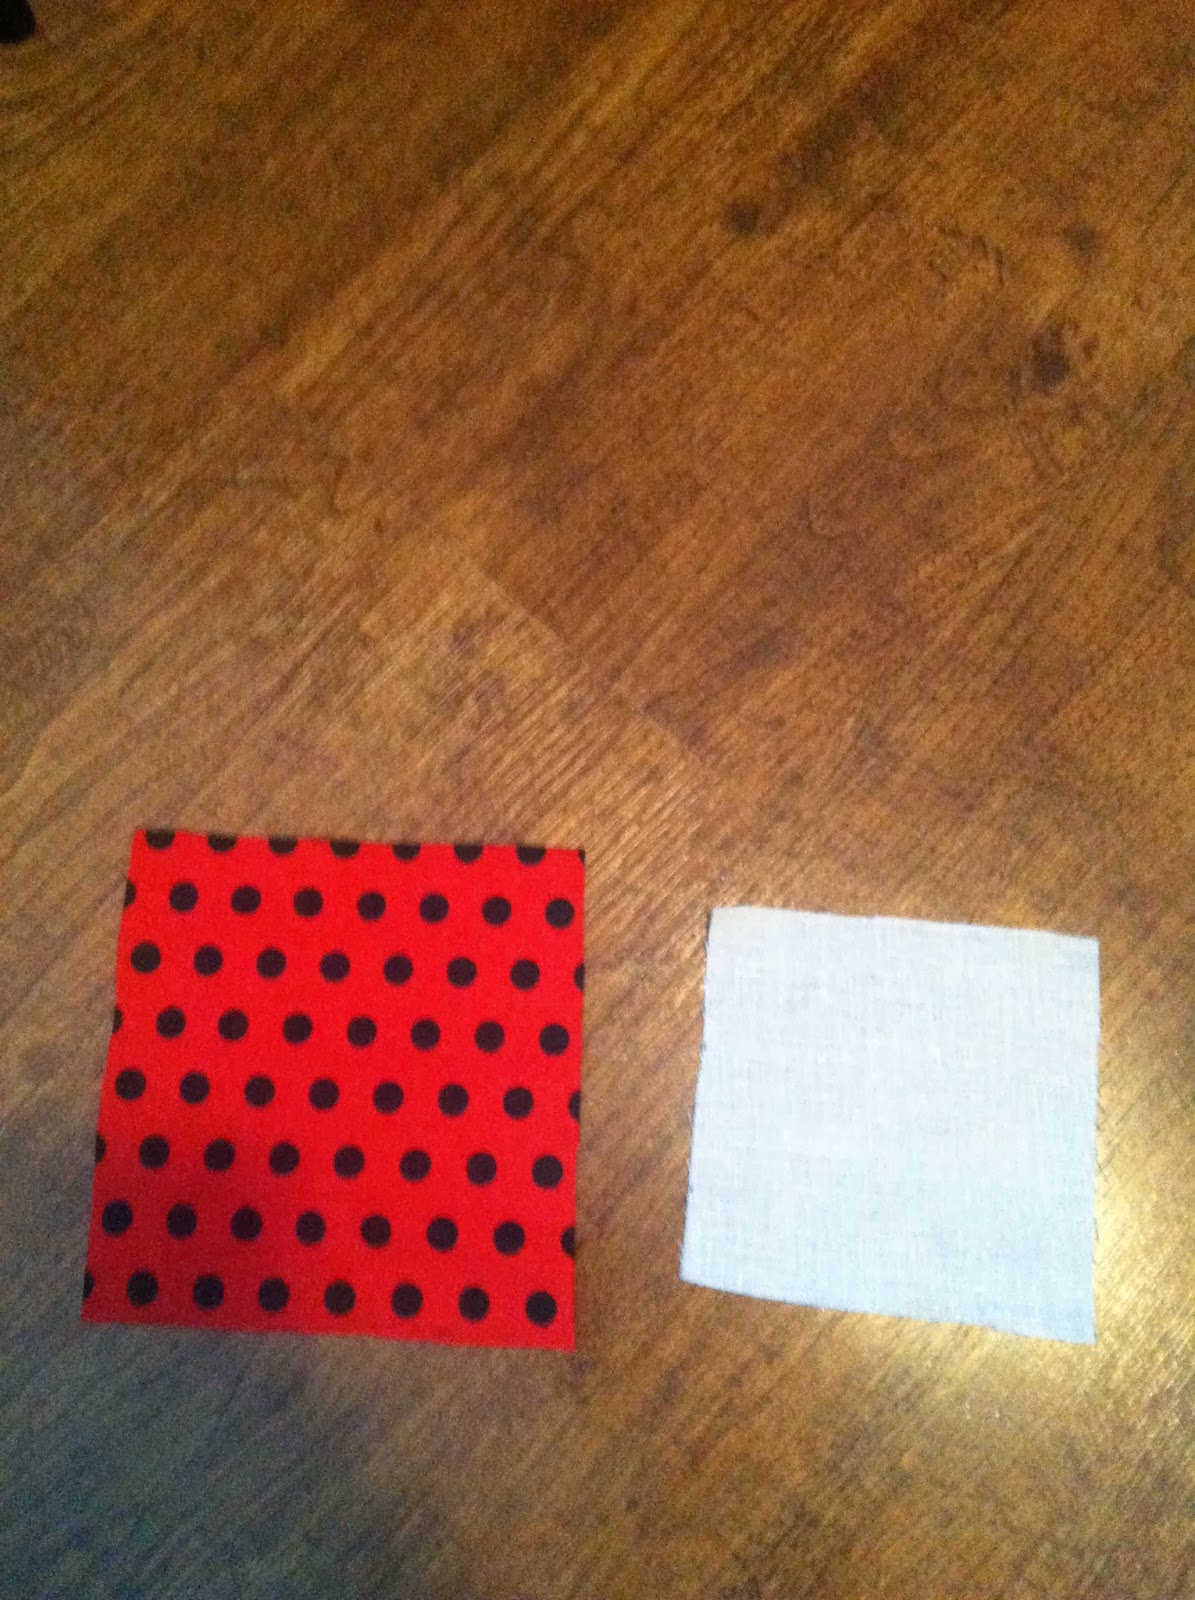 |
| Here is the front and back of the pillow. |
After I had all of my pieces cut, I pinned the corners of the fabric and the muslin together and then made pleats (just folded over the excess) in the middle on three sides, leaving the last side open.


 |
| Here is one of the many bags of "fluff" |


So, lets put these pillows together. Since they are all the same size, they line up quite easily. And, I did just that. I layed my pillows on the floor, made sure that I liked how the different fabrics lined up, made sure that there weren't two of the same fabrics touching each other or at least not directly in the same line and pinned them together. For the big quilt, my rows ended up being 15 pillows wide. For this cushion, it is only 6.


 |
| Here is the leftover pillows that I didn't use for the quilt....hence, the cushion :) But, yes, I had nine diaper boxes filled with little pillows at one point. |
Now, that you have it pinned your first row together, go ahead and sew the individual puffs together one at a time so that you have created a row.


Ok....so, you have your rows all sewn together.....now what?? I wondered that, too....I spent some time with a nice woman at the fabric store who had been quilting for a long time. She told me that I could use a fabric adhesive to baste the batting on instead of hand basting.....that sold me on this stuff!! And, it works just fine. It does get a bit gummy on your hands, but, washes off easily.

 |
| Remember that I am using left overs for the cushion...thats why the batting is in two pieces here. |


I certainly hope that you found this helpful. Like I said at the beginning, this is my first time doing a puff quilt (or any quilt for that matter) as well as a new blog and a new tutorial....Please feel free to comment and point me in the right direction, critique, and ask questions....I really welcome and appreciate the feedback!!
Thanks for stopping by!!

No comments:
Post a Comment